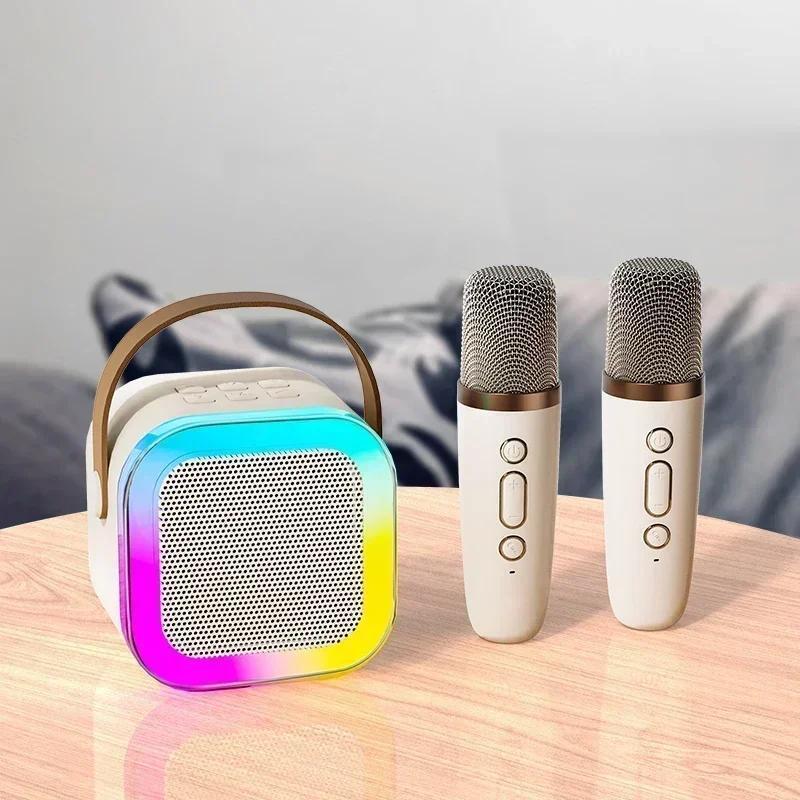
In recent years, Bluetooth technology has revolutionized the way we connect audio devices, fostering wireless convenience. Using a Bluetooth microphone with a speaker enhances audio clarity and versatility for various applications, whether you’re hosting an event, giving a presentation, or enjoying a karaoke night. This guide will walk you through the process of effectively using a Bluetooth microphone with a speaker, offering practical tips to ensure a seamless experience.
Understanding Bluetooth Technology
What Is Bluetooth?
Bluetooth is a short-range wireless technology that enables the exchange of data and audio between devices. It operates within a frequency range of 2.4 GHz, allowing compatible devices like smartphones, tablets, microphones, and speakers to connect effortlessly. By eliminating the need for cumbersome cables, Bluetooth technology creates a more portable and organized audio setup. While the range can vary, most devices operate effectively within 30 feet, providing ample flexibility for movement during presentations or performances.
Benefits of Wireless Microphones
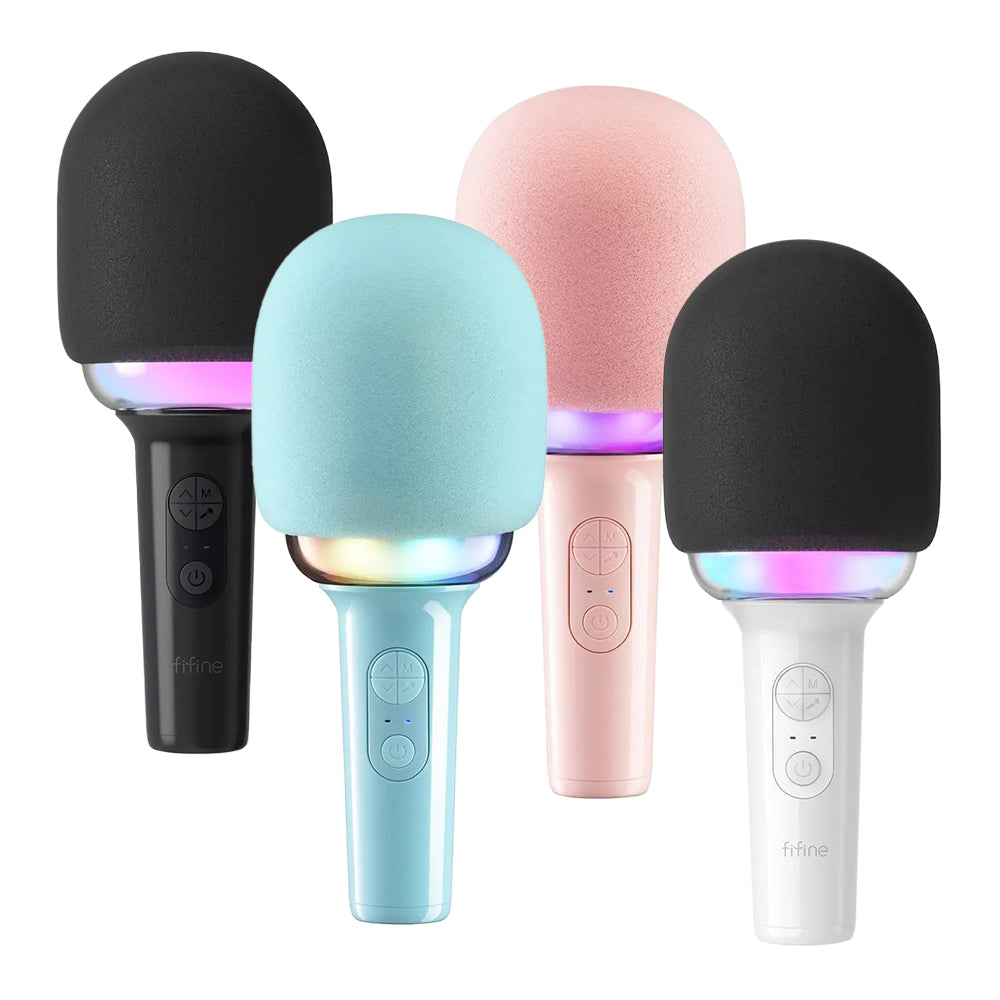
Using a Bluetooth microphone offers numerous advantages over traditional wired options. Wireless microphones allow greater freedom of movement, making them ideal for dynamic presentations, interviews, or performances. They reduce clutter, allowing users to maintain a clean and organized setup. Additionally, Bluetooth microphones often come with enhanced features such as noise cancellation and adjustable sensitivity, providing improved audio quality. Understanding these benefits helps you appreciate why a Bluetooth microphone is a popular choice for various applications.
Checking Compatibility
Ensuring Device Compatibility
Before diving into the setup process, check the compatibility of your Bluetooth microphone and speaker. Most modern Bluetooth devices can connect seamlessly; however, verifying this compatibility is crucial for successful pairing. Review the user manuals or product specifications for both devices, focusing on supported Bluetooth versions. A Bluetooth 4.0 or later version typically offers better performance and stability. Cross-checking allows you to avoid potential connectivity issues and enhances the user experience.
Testing Audio Quality
After confirming compatibility, it’s a good idea to perform a quick test of the audio quality for both devices. Ensure that the speaker produces clear sound and that the microphone captures audio accurately. This step is essential, particularly for situations where sound clarity is crucial, such as presentations or recordings. If possible, play a sample audio track and speak into the microphone to assess the overall performance before proceeding further.
Preparing Your Devices
Charging Your Microphone and Speaker
Before attempting to connect your Bluetooth microphone and speaker, ensure that both devices are adequately charged. Each device typically comes with its own power source or rechargeable battery. Follow the manufacturer’s instructions to charge them fully before use. Starting with fully charged devices will help avoid interruptions during presentations or performances, ensuring you can rely on your equipment throughout your event.
Updating Firmware
Keeping both devices up-to-date is crucial for optimal performance. Manufacturers often release firmware updates that enhance functionality, fix bugs, and improve connectivity. Check the manufacturer’s website or the accompanying app for any updates, and follow the instructions to install them. By updating the firmware, you can potentially enhance device compatibility and improve audio performance, leading to a better overall experience.
Pairing the Devices
Turning on Bluetooth
With both devices charged and updated, you can start the pairing process. First, turn on the Bluetooth feature on your speaker. This step usually involves pressing a specific button marked with a Bluetooth symbol or following the instructions provided in the user manual. Once activated, the speaker will enter pairing mode, allowing it to search for nearby devices.
Connecting the Microphone
Next, switch on your Bluetooth microphone and enable its pairing mode, which is often achieved by pressing and holding a dedicated button or switch. Once both devices are in pairing mode, they should automatically recognize each other. Look for the name of your microphone on the speaker’s display or within your speaker’s Bluetooth settings, and select it to establish the connection. Listen for an audio confirmation indicating a successful pairing. If any issues arise, consult the user manuals for troubleshooting tips.
Adjusting Settings
Configuring Volume and Gain
After pairing, it’s essential to make adjustments to ensure optimal sound quality. Start by adjusting the volume levels on both the Bluetooth speaker and microphone. While most microphones have a gain control, tweaking the gain settings allows you to control how sensitive the microphone is to sound. Setting this correctly can prevent distortion, especially in louder environments. It’s advisable to test the sound levels by speaking into the microphone and monitoring how well the audio projects through the speaker.
Balancing Audio Output
Once you have your volume and gain settings adjusted, it’s important to ensure a balanced audio output. Speak into the microphone while listening for feedback from the speaker. If the audio sounds too muted or excessively loud, further adjust the volume and gain settings accordingly. Balancing ensures that the audio remains clear and intelligible, which is crucial for engaging your audience effectively.
Using the Microphone and Speaker
Testing Before Use
Before formal use—be it for a presentation, event, or recording—conduct a thorough audio test. Invite a colleague or friend to help by monitoring the sound levels as you speak. This collaborative effort allows you to pinpoint any potential issues before your audience arrives or the recording begins. Make any necessary adjustments to ensure that everything functions correctly.
Positioning for Optimal Performance
When using wireless devices, position the microphone for optimal audio capture. Lavalier microphones should be clipped to a shirt collar or tie, ideally within 6-12 inches from the mouth for the best sound pickup. Ensure that the speaker is strategically placed for even sound distribution in the room. Avoid obstructions that might impede audio clarity. Positioning plays a significant role in the quality of sound, impacting the overall experience for both speaker and audience.
Troubleshooting Common Issues
Connectivity Problems
Sometimes, issues such as loss of connection or audio dropout may occur. If the Bluetooth connection drops, try moving closer to the speaker or reconnecting the devices through the Bluetooth settings. Ensure there are no obstructions between the microphone and speaker, which may interfere with the signal. If issues persist, consider resetting both devices and going through the pairing process again.
Audio Quality Concerns
If you encounter problems with audio quality, such as static or distortion, double-check the gain settings. Lowering the gain can often resolve issues associated with clipping. Additionally, verify that no external devices are causing interference. Switching to a different channel, if your mic and speaker allow it, can also help mitigate any interference. Regularly performing these checks allows you to maintain high sound quality throughout your usage.
Maintaining Your Equipment
Regular Care and Cleaning
To ensure the longevity and optimal performance of your Bluetooth microphone and speaker, regular maintenance is essential. Make it a habit to clean the microphone’s grille gently with a soft brush or a lint-free cloth to remove dust, dirt, or moisture accumulation. If your microphone has a removable windscreen, take it off and wash or replace it as needed, especially after outdoor use. Similarly, wipe down the speaker with a damp cloth to keep it looking pristine and functioning correctly. Regular care extends the lifespan of your devices and preserves audio quality.
Storage Tips
When not in use, store your microphone and speaker in a cool, dry place away from direct sunlight or extreme temperatures. Consider using a padded case or protective cover to shield them from physical damage. Proper storage helps prevent wear and tear and minimizes risks from environmental factors like dust and humidity. Additionally, if your microphone uses batteries, consider removing them if you plan to store the device for an extended period. This practice prevents battery leakage, which can damage your device internally.
Conclusion
Using a Bluetooth microphone with speaker can significantly enhance your audio experience, making it a valuable tool for various applications. From presentations to performances, the advantages of wireless convenience and sound clarity are clear. By following this step-by-step guide, you will not only ensure a seamless pairing and setup process but also maximize the effectiveness of your audio equipment. Embrace the freedom of wireless technology, and watch as it transforms your presentations and events into engaging, high-quality experiences. With a bit of preparation and attention to detail, you can enjoy clear, dynamic audio that captivates your audience or elevates your content creation.